Welcome to the Disney Clubhouse #DisneySide 2015

If you’ve followed for a year or so, you’ve noticed that I do have a pretty darn creative side that comes out to play when it’s time to show my #DisneySide. This year, I was able to kick it up a notch because of the recent purchase of my new to me Silhouette Portrait. The sky became limitless! 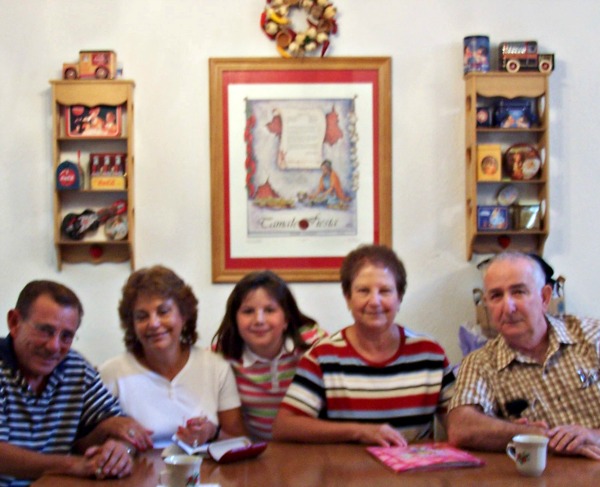 My dining room has remained virtually the same for the last decade or more, even though I’ve lived in two different houses during this time. I have a framed poster with shelves on either side of it. The only thing that has really changed is the collection of tins displayed on the shelves. Over the years, I have tried to decorate (aka cover up) the large picture to match my daughter’s party decor. Sometimes it works, sometimes it doesn’t.
 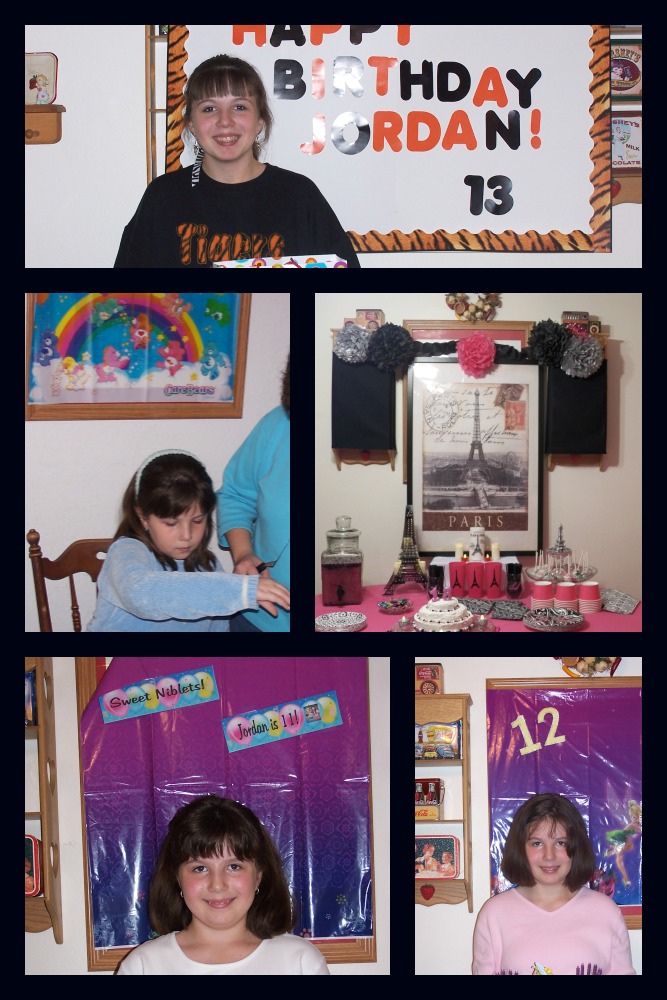 As you can see, I tried really hard to match her decor to her party theme each year. Most of the time, I simply cut off part of the plastic table cloth and hung it up over the picture. I was especially proud of her 13th Tiger Edged Poster. She started middle school that year and was so proud of being a Tiger. Even the cake was done in brown and orange to match. I think this year’s birthday decor was the very best though. This year was the Paris theme. We took the large Eiffel tower framed picture from her bedroom and put it in front of the framed poster on the dining room wall. We wrapped black cloth napkins around the shelves to hide the tins. Our #DisneySide Multi Generation party was soon after my daughter’s birthday party, so we were able to recycle some of the decor.
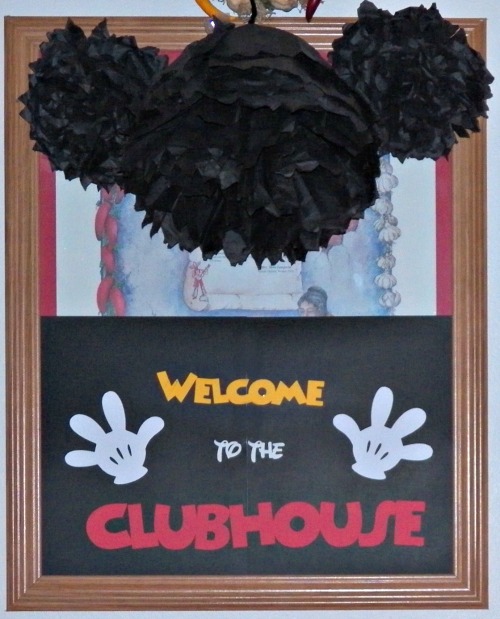
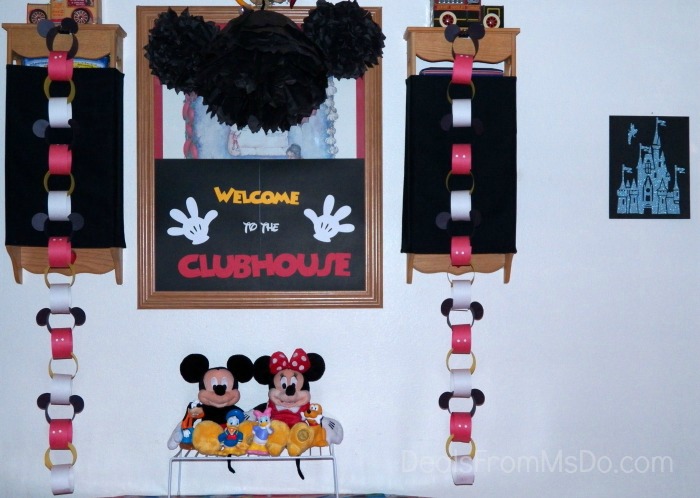
The black napkins were still hung on the shelves and we turned some of the black tissue paper flowers into ears for Mickey. We created a huge tissue paper flower for Mickey’s head. On the lower portion of the frame, I created a Welcome to the Disney Clubhouse Banner using cardstock, a few words, and Mickey Mouse’s gloved hands. Hanging on the back right side, you’ll see Magic Kingdom. Just like the real Magic Kingdom, is shines and sparkles. However, mine shines and sparkles because it’s a light blue cardstock from DCWV. It’s another picture I cut out with my Silhouette, and it cut without any problems. It added so much to the overall decor for my party. This is my first time to ever use glitter cardstock and I think I’m already hooked! Everyone oohed and aahed at the decorations. It took very little time or effort since I made these items using my Silhouette machine. Of course, these can also be cut out by hand, but it’s so much easier and faster when you have a machine that will do it for you. I’m still getting familiar with my Silhouette machine. Cutting comes pretty easy to me, but removing detailed pieces, like the Magic Kingdom, from the mat and replacing it on the black card stock can be challenging. I ended up putting it together piece by piece. If cutting it by hand, I would advise you to use an Xacto knife and a metal ruler. Below are the links for each of the files necessary to help you make the above banner for your Disney Clubhouse party, even if you don’t have a Silhouette machine. If you don’t have a machine, click the JPG link so that you can print and cut out by hand. You may need a free Google account to access my files. You don’t have to use the account for anything other than signing in and downloading.
Want to unleash your #DisneySide? Check out some of my #DisneySide posts.
Follow Deals From MS Do’s board #DisneySide Party Ideas on Pinterest.


Speak Your Mind