Mickey Mouse Cupcake Decorations
Last month, I hosted a DisneySide at Home Celebration. Until I was selected to host this fun little get together, I never realized that I had a DisneySide. Once I got in touch with my DisneySide, the creative juices kept my brain jumping. There were so many things I wanted to make and do for our celebration, but there weren’t enough hours in the day or dollars in my budget. If you’re a Disney fan, make sure to follow my DisneySide Pinterest board to see all of the ideas I liked the best.
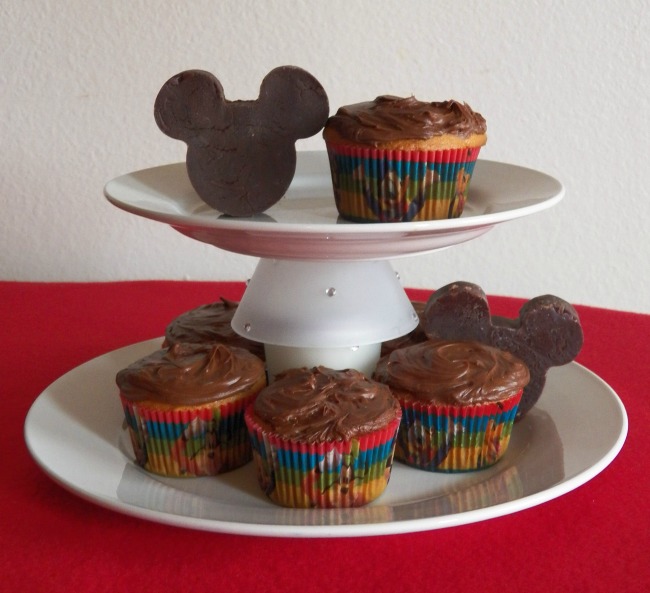
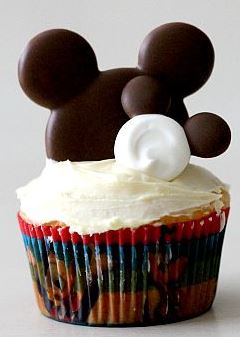
I was sent a package of cupcake holders, so I knew that I would make cupcakes. I decided to make the above chocolate Mickey Mouse shaped heads to put on the tops of my cupcakes. They looked so cute and looked so easy to make. There really weren’t any directions on how to make them, so I made it up as I went along.
 Preparing for the Mickey Mouse Cupcake Decorations
I planned to microwave the chocolate almond bark, so I chopped it to make melting in the microwave faster and easier. I chopped two blocks of Chocolate Almond Bark. After chopping it into tiny chunks and slivers, I dumped it from my cutting board onto wax paper. The wax paper was used to transfer the chopped Chocolate Almond Bark into the microwave safe measuring cup.
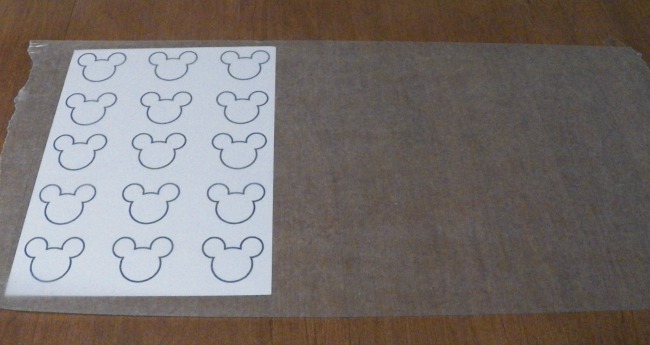
 Mickey Mouse Cupcake Decorations Template
After I prepped the Chocolate Almond Bark, I setup the area where I planned to make the Mickey Mouse Cupcake Decorations. I printed the Mickey Mouse outline template I created. Click to open and print your own use if you’d like. I taped wax paper down to the table and slid the template underneath it. I thought this set up would make the process faster and easier.
I’ve never had much luck with melting almond bark, so I thought chopping it would speed the process along and help me avoid burning it. I was wrong. I microwaved it for 30 seconds at a time and stirred it every time the microwave beeped. Unfortunately, the last 30 seconds I zapped it were just too long. It went from almost there to slightly scorched in the last 15 seconds or so.
The Chocolate Almond Bark was a goopy mess, but I tried to mix it together. I put it in my piping bag, but it kept plugging up the decorating tip (next time I’ll use a tip with a larger opening). The bag was also extremely hot to try and handle. I wasn’t about to throw out my chocolate, so I came up with a new plan.
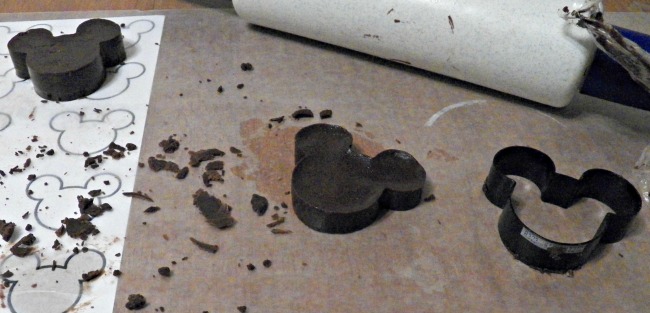
I grabbed my Mickey Mouse cookie cutter, placed it on the wax paper, and filled it with the chocolate. I used both my rolling pin and my fingers to mash the chocolate into all parts of the cookie cutter. My fingers ended up working better than the rolling pin, but the rolling pin was helpful in creating a smooth top.
The chocolate cooled quickly, so I only left the cookie cutter in place for a couple of minutes. I lifted the cookie cutter up and gravity allowed the formed chocolate to slowly drop out of the cookie cutter back onto the wax paper. Since I didn’t have to force it out with my fingers, I didn’t break the Mickey Mouse or cause it to become misshapen.
After both of the Mickey Mouse heads were finished, they were placed on a completely flat tray. The tray was placed in the refrigerator to allow the chocolate to thoroughly cool. After they were chilled for several hours, I placed them in a plastic storage bag, and left them in the refrigerator.

The next week they were pulled out and used to decorate the cupcake stand the cupcakes were served on. While these weren’t the original Mickey Mouse Cupcake Decorations I set out to create, they still turned out really cute, and mostly served the purpose.
Since I made my chocolate goop, I have checked around and been given a couple of different suggestions on how to best melt chocolate or white almond bark. One friend advised me to use a double boiler. Another told me that I need to set my microwave at 50% power when melting the chocolate to avoid the burned mess. The best advice I was given was to use a slow cooker to allow the chocolate to melt and stay melted as long as I need it to be. This is the method I like best and will be using very soon.


Oh they look delicious! I have only melted chocolate in a double boiler but for my Disney Side party Mickey heads I tried melting the chocolate in the microwave. They were scorched. I went back to my double boiler for the rest. I will definitely try the Almond Bark. Yum! Thanks!
Scorched is the only way I know how to melt chocolate and almond bark. I guess I’m just too lazy for double boiler or fear burning myself, but I just can’t bring myself to doing it that way. I see a mini slow cooker in my future. 😉
Love this!
Thanks! Coming from a site like yours, I take that as high compliments. 😉