 Good Cook Silicone Bark and Chocolate Mold, Isn’t Just for Candy
While I’ve never been much of a candy maker, I’ve always been a crafter. During a recent Good Cook challenge, I received a really cute Good Cook Silicone Bark and Chocolate Mold and Hop Into Spring Silicone Spatula. However, as a diabetic, I try not to eat a lot of things that I shouldn’t be eating. Most everything that should be made and eaten from this cute little silicone mold aren’t exactly high on the menu board for a diabetic. 😉

Eventually, I stumbled across something that I could easily make and enjoy in my Good Cook Silicone Bark and Chocolate Mold. However, I never tasted it! It’s a feast for the eyes instead. 😉
After doing some searching and experimenting, I created a really simple dough. It was intended for rolling and cutting of ornaments, but I made do.

- ½ cup cornstarch
- 1 cup baking soda
- ¾ cup water
- Preheat oven to 175 degrees F.
- In a medium sized pot combine the cornstarch, baking soda, and water.
- Stir over medium heat. The mixture will begin to thicken after a few minutes.
- Remove the pot from the heat, when the contents look like smooth, mashed potatoes,
- Spoon the ball of dough into a bowl and cover it with a damp cloth until cooled.
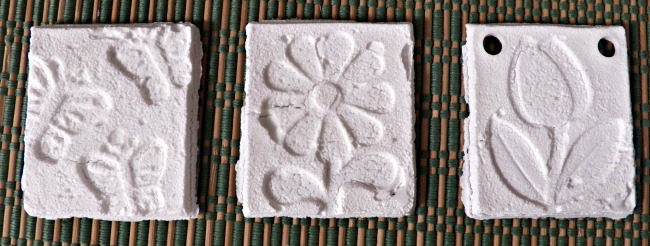
- The dough was then spread into the mold using the spatula. Do not fill the mold all the way to the top. They will be difficult to cut apart later. Fill only to the lower edge inside each mold cup.
- Once cool, knead the dough on a smooth surface until smooth.
- Add more cornstarch if it feels sticky.
- Line baking sheet with parchment paper.
- Roll out clay to ¼ inch thick on a surface lightly dusted with cornstarch.
- Use cookie cutters to cut out shapes.
- Transfer shapes to the prepared baking sheet.
- Place in the oven for about an hour, More time will be needed if using the scoop and mold method. Rolled ornaments should need less time.
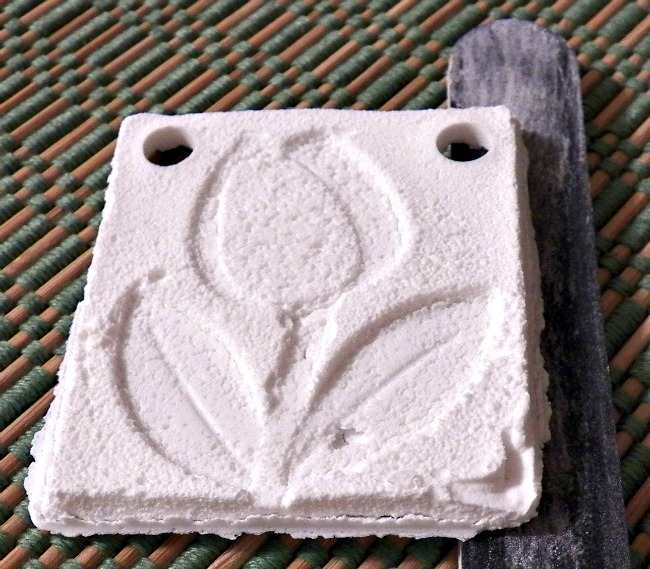
- A drinking straw can be used to punch holes in the dough after baking for about 30 minutes. The dough from the hole will lift out with the straw.
- When the holes are punched, the back edges may need to be scraped down along the "cut" lines of the pan. This will help prevent them from breaking once completely cooked.
- Overcooking will cause the ornaments to become brittle and fragile.
- Allow ornaments to completely cool before removing from the mold.
- If the ornaments have rough edges, use a nail fail or emery board to smooth the edges. A very fine grit sandpaper could be used as well.
- Paint and decorate as desired.
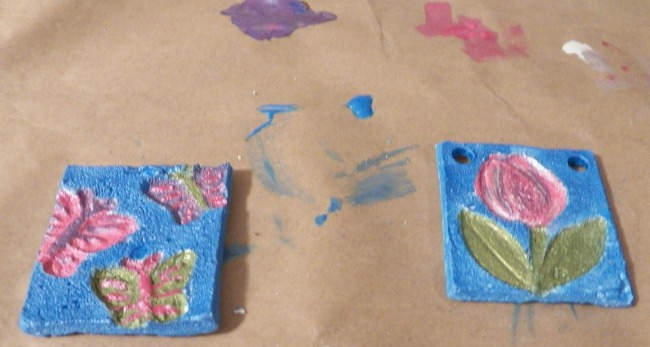
- Run ribbon through the holes and hang to decorate with Good Cook Kitchen Clay Ornaments.
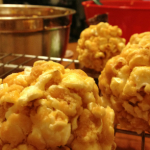
I did make an edible treat as well. I made a Brownie Ice Cream Cake using the mold and spatula. That little feast was enjoyed by my eyes and my mouth. It was also somewhat healthy. Just click over and find out how.
If you do have the talent for working with the Spring Silicone Bark and Chocolate Mold, I’d love to see pictures of things you’ve made. Want to order some of the great Good Cook Sweet Creations products to make your Easter and Mother’s Day even more festive? Take 25% off using Code: SpringFling


Speak Your Mind