Thanks to GoodCook, I have another set of kitchen goodies I used this week to create a new recipe. The challenge for this week was to create a stuffed burger using the tools sent to the Good Cook Kitchen Experts. If you know me in real life or have been around here for very long, you know that I’m all about cooking and using gadgets in the kitchen, so this is right up my alley!

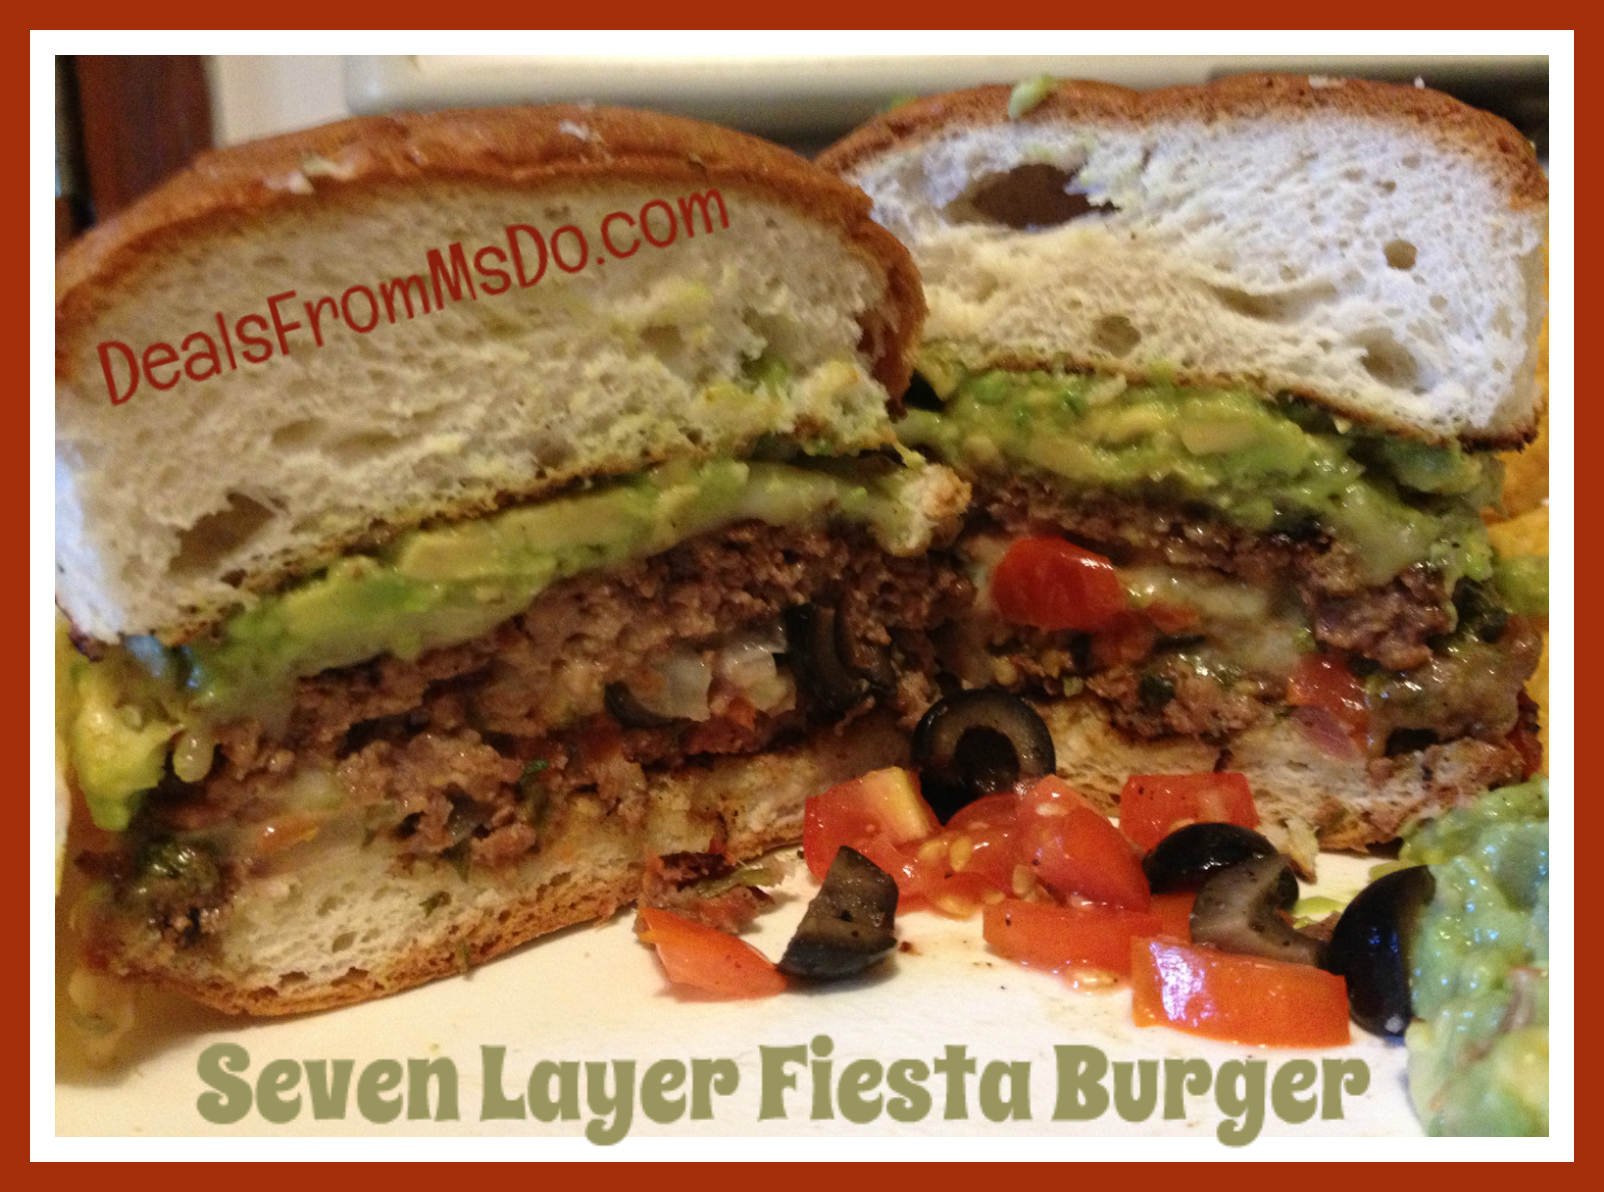
Initially, I had all kinds of ideas on what I wanted my final stuffed burger to come out to be, but I couldn’t ever figure out how to get it there. I started looking through some of my old recipes, asking for ideas from friends and family, and was inspired with their ideas as well as my Seven Layer Dip. Once I hit upon the idea of a Seven Layer Fiesta Burger, the ideas kept flowing and flowing!
I loved using all of my new Good Cook Tools while preparing my recipe, all of which made preparation of this recipe easier and faster. Pictures of each of the tools, except for the grater, can be seen in the recipe steps. The grater wasn’t used since I already had an open pack of cheese slices.
The tools I received and am reviewing with this recipe are:
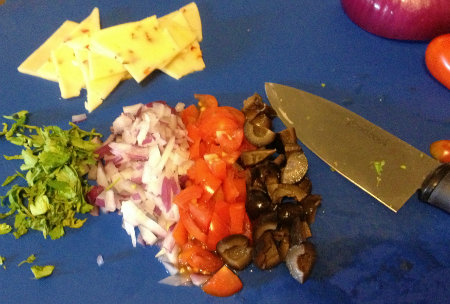
- Non-Slip Flexible Cutting Board – The large cutting surface allowed me to prepare multiple cut vegetables on the same mat. I love laying everything out side by side to make sure I haven’t forgotten anything. Most of my prep is done on my glass stove top and my regular plastic cutting boards slip and slide. There was absolutely no slippage of this thin cutting board, even when wet. I would consider it to be more of a mat instead of a board though.
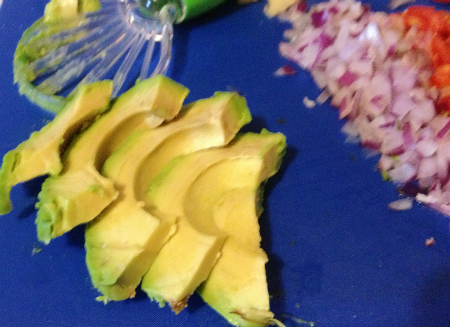
- Mini-Chef Knife – This little knife is SUPER SHARP and great for those smaller jobs. There was no mushing of any of my produce as I cut. It even cut neatly through the avocado skin. I love a knife with a rocking action and there was just a slight rounded shape to the blade allowing it to rock.
- Stuffed Burger Press – I’ve tried to make “loaded” burgers before, but all of my ingredients were just combined into the hamburger meat. The stuffed burger press allowed me to easily create a hidden pocket in the patty for all of the hidden yummies. Easy to use, wash, and store.
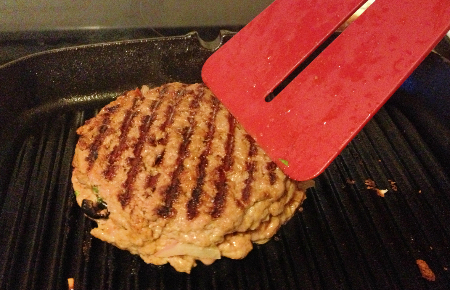
- Turner – No more half melted plastic turners for me! I wasn’t so sure about this turner at first, I was afraid it was a bit flimsy to flip my heavy-duty hamburger. I was seriously underestimating the strength of this turner! It did a fabulous job and never strained under duty.
- Folding Grater – Although I didn’t use the folding grater for my recipe, I did give it a thorough twice over. Gone are the days of the old, rusty, metal boxes that are clunky and junky! This sleek, foldable grater is hinged on both sides at the top to allow the most flexibility possible when storing. There is a built in “knob” on the top for you to securely hold the grater in place when grating cheese. The non-slip edges on the bottom of each side help keep it securely in place while in use. This would be an awesome wedding present!
- Cast Iron Square Grill – I had given up on cast iron nearly twenty years ago. Thanks to help and tips from other Good Cook Kitchen Experts, I learned a few tricks before I even unboxed my new Cast Iron Square Grill. From these other great experts, I learned that I needed to oil my cast iron and “cook” it before use. The inside of the square grill was coated with canola oil with a kitchen brush and baked, upside down in my oven at 450* for an hour. It was then allowed to cool for 30 minutes before cooling. Why do you do this? It “seasons” the cast iron, which basically means it treats the cast iron to keep your food from sticking. Putting the grill in upside down allowed any excess oil to drip out onto the bottom of my self-cleaning oven, instead of creating any sticky residue it may create if the grill were baked right side up. After cooking my burger, there was minimal sticking of the burger ingredients and clean up was a breeze.
Like what you read about these great Burger Stuffing Tools? Goodcook is offering a 25% off coupon to goodcook.com for the Good Cook Burger Tools. Use CODE: BurgerLovers

Show the love by following DealsFromMsDo and GoodCook on Twitter.
Looking for a couple of side dishes to go with this great Seven Layer Fiesta Burger? Try some of these:
- Pinto Beans Make Great Refried Beans (no Refried Needed)
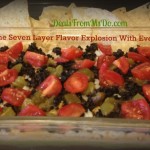
- Seven Layer Dip
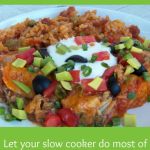
- Spanish Rice with Peas and Carrots
- Avocado and Strawberry Sopapilla Pancakes

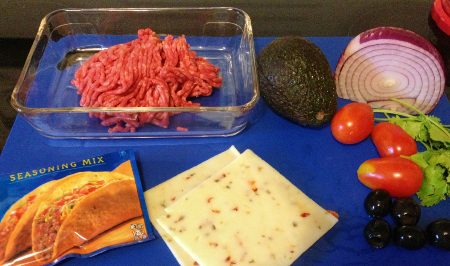
- ¼ to ½ lb. Ground Round
- 1 tsp. Taco Seasoning
- 2 Slices Pepper Jack Cheese
- 1 Tbs Chopped Tomato
- 1 Tbs Chopped Red Onion
- 1 Tbs Chopped Cilantro
- 2 Tbs or more Guacamole
- ½ Avocado
- 2 Tbs Chopped Tomato
- 1 Tbs Chopped Onion
- Splash of Lemon Juice
- Dash of Seasoned Salt
- Dash of Garlic Salt
- Chop tomatoes, onions, olives, avocados, and cilantro into small pieces.
- Avocado may be slices with the Avocado Slicer if desired, instead of the guacamole.
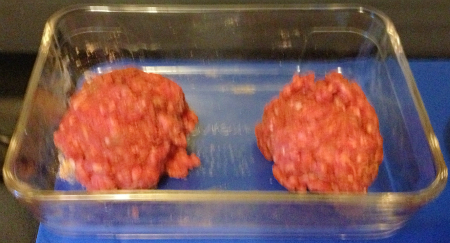
- Combine ground round with Taco Seasoning.
- Make two meatballs for each stuffed burger.
- Use each meatball to create a patty with the hamburger press.
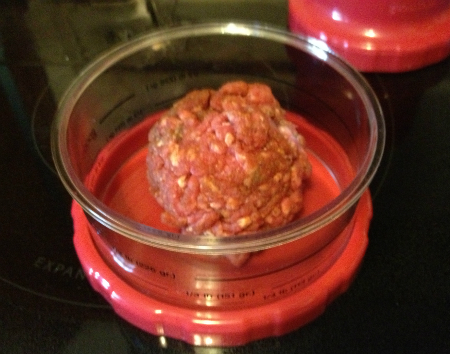
- Set one patty aside and continue with one patty still in the press container.
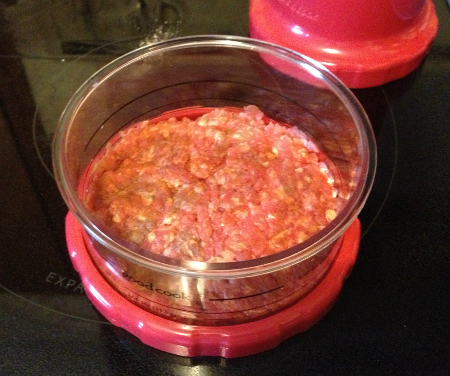
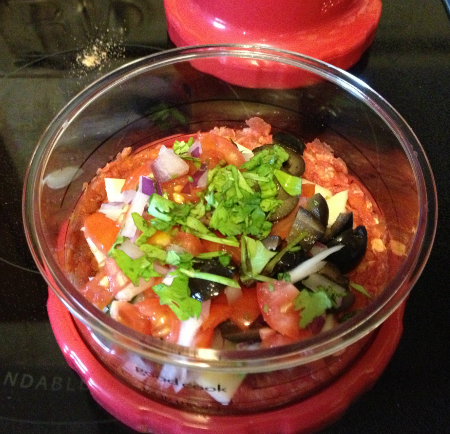
- Using the smaller top part of the burger press, press downward to create a well or pocket in the patty still in the burger press tool. Add sliced cheese, tomatoes, olives, cilantro, and more cheese to the hidden pocket area.
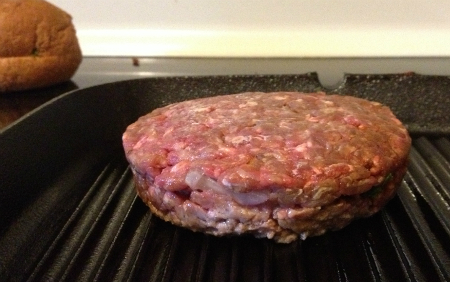
- Cover the pocket with the second patty that was set aside. Mash down with the wider side of the press to seal the edges. Remove the ring from the base and double check the seal between the patties with your hands.
- Allow to rest for an hour or more if possible, to give seasoning time to season the meat more thoroughly.
- When ready to cook, preheat grill to a medium high heat. Water splashed on the grill will sizzle if the grill is hot enough.
- Add the burgers to the grill.
- Turn as needed. Look at those grill marks!
- Allow burgers to cook slowly to desired level of doneness. We prefer Well Done. Yummy Looking!
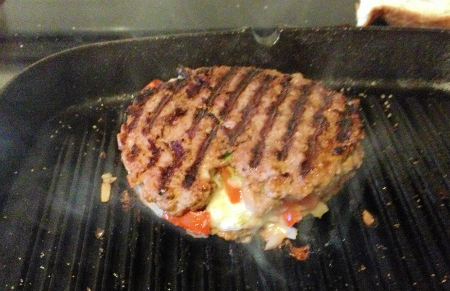
- While burger is still on the grill, add a second slice of cheese to the top of the burger if desired.

- Top with Guacamole and serve on your favorite bun or open face with your favorite Mexican side dishes.


I’m not crazy about “thick” burgers. However, this one sounds good. I’d switch up a few of the ingredients (for example I don’t like olives), but the overall idea is great!
I’d have to add extra tomato too, I love tomatoes when in season!
I am making this tomorrow. It’ has everything my husband and I like and it’s something different.
I absolutely cannot wait to make this. It has everything my husband and I love and is something new. It looks delicious!