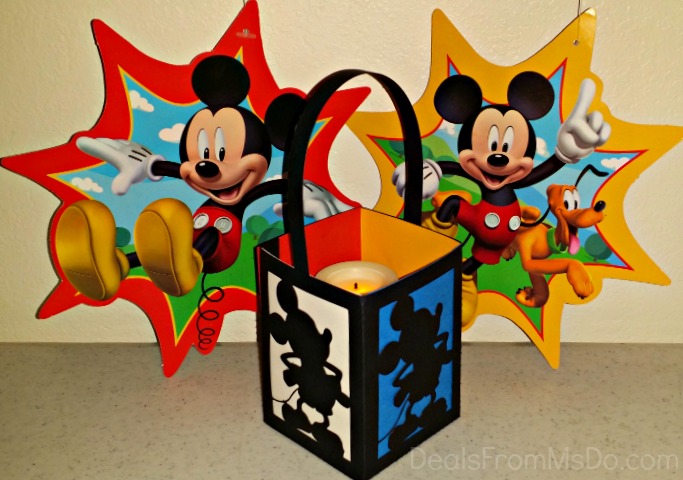
Mickey Mouse Paper Lanterns for Silhouette with Paint.net

While searching for items to use at this year’s Multi-Generation #DisneySide party, I found a really cute Color Fusion Mickey Mouse Lantern on the Disney Store site. I knew that I wasn’t going to buy one, because I knew I could make similar Mickey Mouse Paper Lanterns with my Silhouette Portrait machine instead.
I have the Designer Edition software for my Silhouette, but I haven’t quite gotten the hang of using it yet. Instead, I use my old standby, paint.NET. It’s a program that’s somewhat comparable to Photoshop, but it’s absolutely FREE! If you’re interested in learning about it, search for some YouTube videos and have lots and lots of patience.
The Mickey Mouse Paper Lanterns file for the Silhouette machine is located at Mickey Mouse Paper Lanterns for Silhouette Machines.
For those wanting to know how I created my Mickey Mouse Paper Lanterns, I’ll explain:
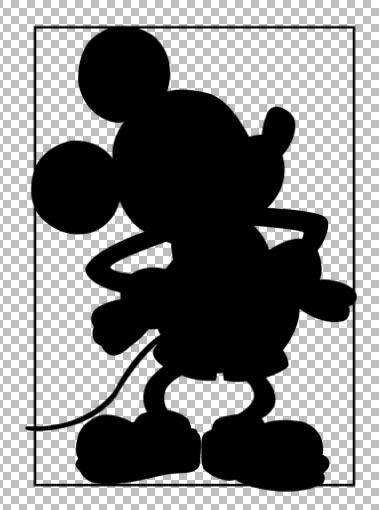
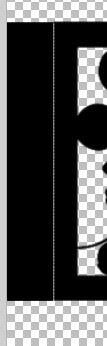
- Open the Mickey Profile Silhouette in a New Layer.
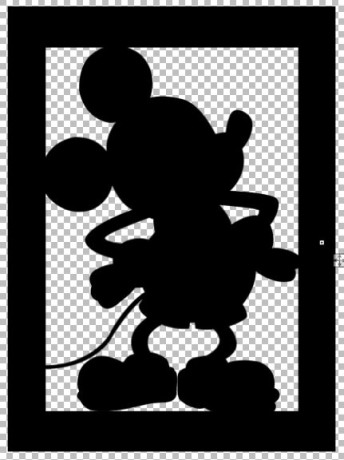
- Draw a rectangle around Mickey. Do NOT center Mickey. Make sure each side of the rectangle neatly overlaps and connects with Mickey.
- Draw a second rectangle around the first rectangle. It should be evenly spaced around all sides.

- Use the paint bucket to fill the space between the rectangles.
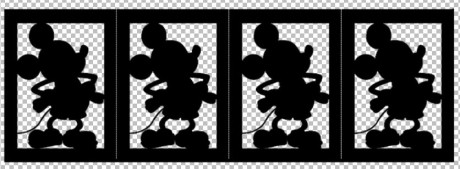
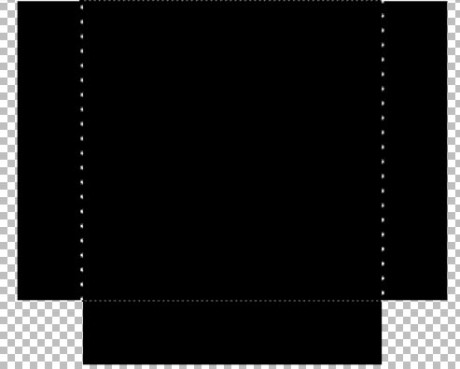
- Open a new blank document. Size it to 11″ x 8.5″.
- Copy and paste the Mickey Frame to the new Document. Shrink to fit as needed.
- Add a dashed white line down the right side of the frame. The dashed line creates the perforated fold line when the Silhouette cuts.
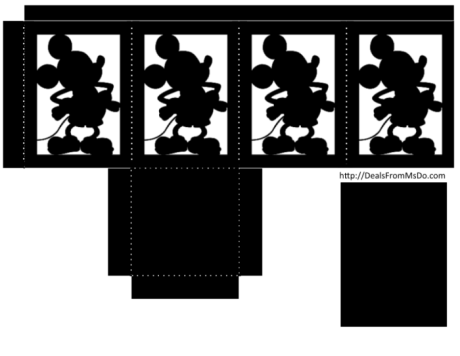
- Copy and paste three more Mickey frames, so that there are four side by side. Leave the white dashed line showing in between.
- Cover the dashed line on the last frame with a black line, so that it will cut a solid line instead of a dashed, fold line.
- Add a rectangle, the length of the Mickey frame, to the left side of the Mickey Frames.
- Add a dashed line between the rectangle and the first Mickey Frame.
- Draw a square, equal in width to the Mickey frame, under the second Mickey. Holding down the shift key while drawing the square to ensure a square, instead of a rectangle.
- Add a dashed white line around all four edges of the square.
- Draw rectangles around each of the other three sides of the square.
- Draw short white lines between the 1st and 3rd Mickey Frames and the rectangles beneath them. This will create the cut lines for the Silhouette.

- Create a thin rectangle the length of the Mickey Frames. Place at the top of the Mickey Frames and divide with a thin white line. The white line is a cut line.
- Draw a rectangle that fits just inside one of the Mickey Frames. Move the rectangle below and away from the lantern. This is the size to cut the colored paper.
- Your entire image is now ready to save. Save as a paint image (to make changes later, if desired) and a PNG image.
- The final image is ready to open and cut in the Silhouette.


Speak Your Mind