
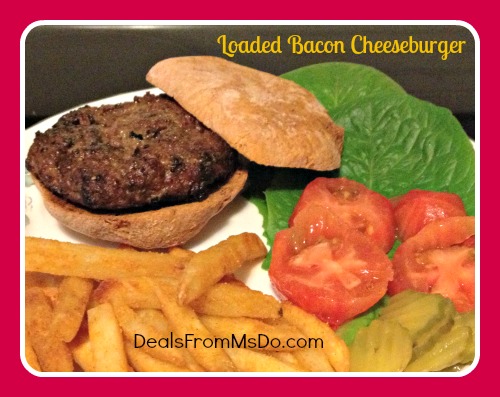
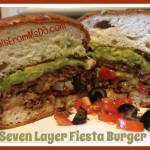
Loaded Bacon Cheeseburgers

There is nothing I love more than a really good homemade Loaded Bacon Cheeseburger and onion rings. My mom used to make homemade onion rings when I was a kid. I remember her putting everything into a big paper bag and shaking it all around to coat the onions. It was a HUGE MESS, that’s why she did it in a paper bag and threw it away when we were done. As good as those onion rings were, they just aren’t the same if you don’t have a really good loaded bacon cheeseburger to go with them.
I’ve bought premade hamburger patties similar to these for years at various grocery stores. When I was in graduate school and lived in a hotel for a month, I would buy these burgers at HyVee and cook them on a tiny George Foreman type grill on my bathroom cabinet. After that first loaded bacon cheeseburger, I was hooked! I’m sure that I smelled up the whole third floor for at least once a week.
I love when I can find these fabulous loaded bacon cheeseburgers on sale, but these days, those sales are few and far between. Locally, They sell for about $2.50 each. I do buy them once and awhile, but for that kind of price, I decided that I could create my own recipe for a meat market style Loaded Bacon Cheeseburgers. The only thing I will do differently next time is use less Worcestershire Sauce. Some of the burgers didn’t hold together very well and it may have been because everything was too wet. I ended up making nine burgers for under $9.
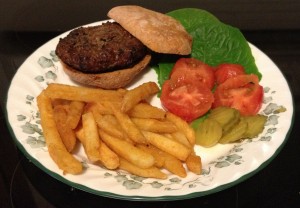
Although my fries had a small amount of flour which contained gluten, my bun was gluten-free. Although I didn’t have any actual buns, it probably looks like I did. I used both ends from a loaf of Udi’s Gluten-Free Bread in place of a bun. I’ve also learned with my gluten-free breads that they’re so much better with a juicy or slightly greasy topping.
Since I it was a Loaded Bacon Cheeseburger, everything was on the inside, except for the few toppings on the plate. I love all of those things on a burger, too, but these burgers were so good that most of them were just reheated, placed on a bun, and eaten. When reheating the burgers (or any other meat) in the microwave, wrap in a wet paper towel. Microwaves need the extra moisture to bounce around and heat the meat without drying it out.
Prep time:
Cook time:
Total time:
Serves: 9 burgers
Serving size: Perfect size to go on a bun
- ALL measurements are APPROXIMATE!
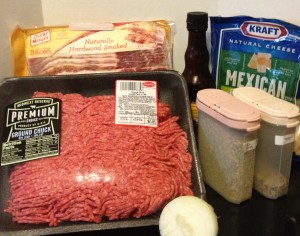
- 2.5 lbs Ground Beef of Your Chosing
- 1.5 c grated cheese
- 1 c chopped bacon
- ¾ - 1 c chopped onion
- 2 Tb Mrs. Dash
- 2 Tb Montreal Steak Seasoning
- 2 Tb Worcestershire Sauce
- Open the ground beef and dump into a large mixing bowl.
- Season beef with the Mrs. Dash and Montreal Steak Seasoning.
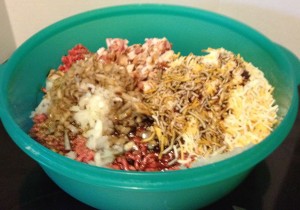
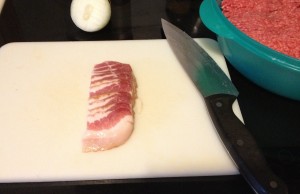
- Cut about 1½" from the end of a 1 lb. bacon package. Chop as small as possible. Add to the mixing bowl.
- Chop ½ a small onion as small as possible and add to the mixing bowl.
- Add cheese to the mixing bowl. Love cheese, add as much as you want! I do!
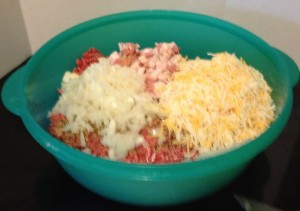
- Spread the Worcestershire Sauce across the top.
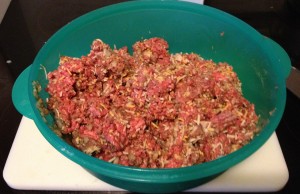
- Gently mix the ingredients together. Do NOT overwork the meat.
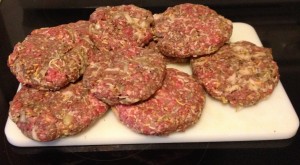
- Shape meat and other ingredients into patties. Pack them a little tighter to keep them from falling apart while cooking.
- Grill the burgers outside for maximum flavor.
- WARNING: Mine produced a LOT of SMOKE while grilling. The dripping bacon grease, burger juices, and Worcestershire Sauce is the cause. Leave the lid open on the grill to reduce the smoke build-up.
- Serve with favorite condiments and sides.


Looks awesome and mouth watering!!!! I will have to give this a try!