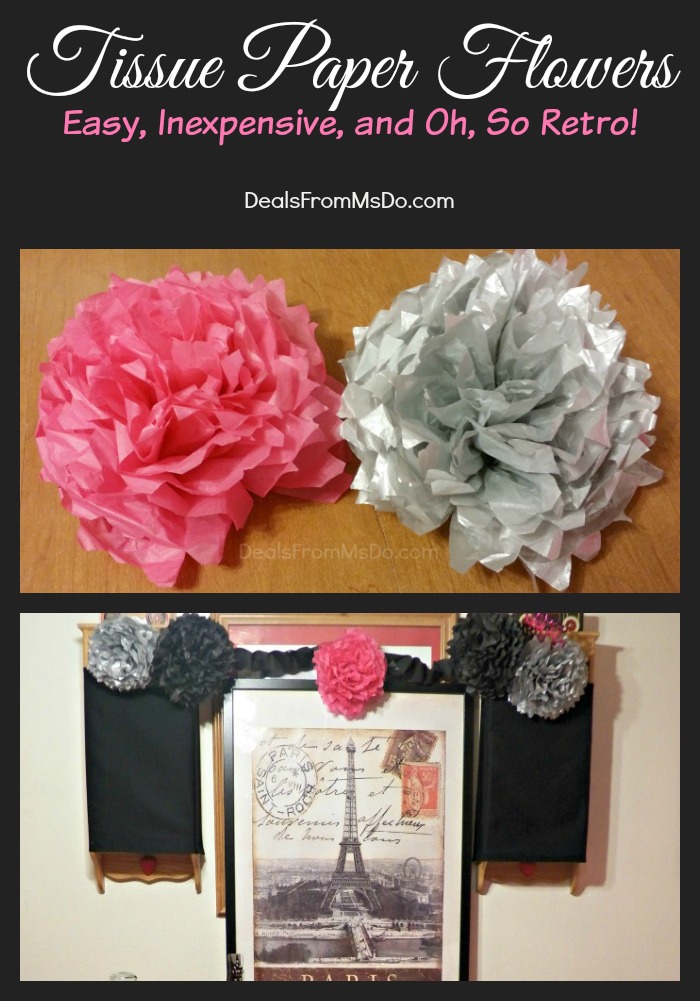
Decorate with Tissue Paper Flowers

Retro seems to be the cool thing these days. Back in my high school days in the 80s, we used to have float decorating parties. The majority of our time was spent making paper flowers. We made bags and bags full of those tissue paper flowers, stapled or taped them to crepe paper streamers, and then attached them to cars and trucks before the big Homecoming parade each year.
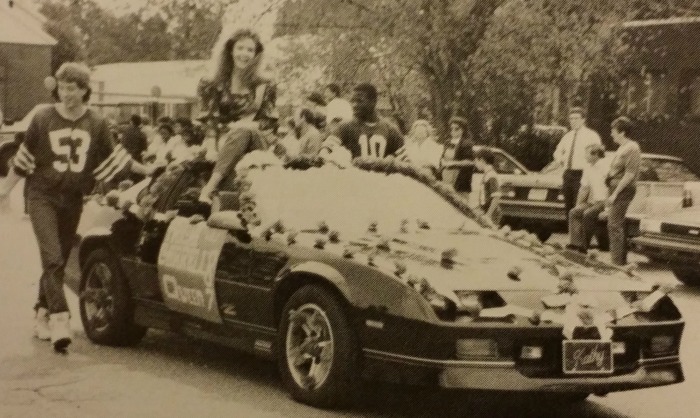
1987 Tissue Paper Flowers on a Homecoming Float
I’ve been out of high school for almost 26 years, so I suppose that makes our tissue paper flowers retro. I first remember making them in elementary school, so I have no doubt they fall under the retro decor category. In elementary school, we pulled tissues apart and formed them into flowers some how. At some point, I learned how to make the same flowers using regular tissue paper. In the years past, I used the twist ties from trash bags to pull the center of the flowers together. However, I’ve learned that it’s so much easier to use pipe cleaners to pull the centers of the tissue paper flowers together.
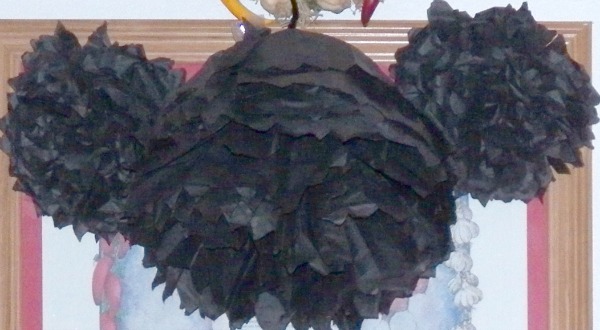
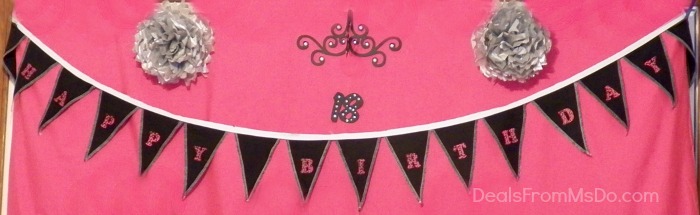
The tissue paper flowers can be made in a variety of sizes, designs, and colors to accentuate your decor. You could make a bouquet from the different sizes and shapes of tissue paper flowers you make. Of course, you could always get adventurous and even make a Mickey Mouse head with Tissue Paper Flowers, like I did! This is the photo backdrop that I created for my daughter’s 18th birthday. More details to follow, at a later date, if you’re interested. But look at how much the tissue paper flowers dressed up the birthday banner and paper chandelier.
No matter what size you want to make your flowers, you start with the same basic steps.
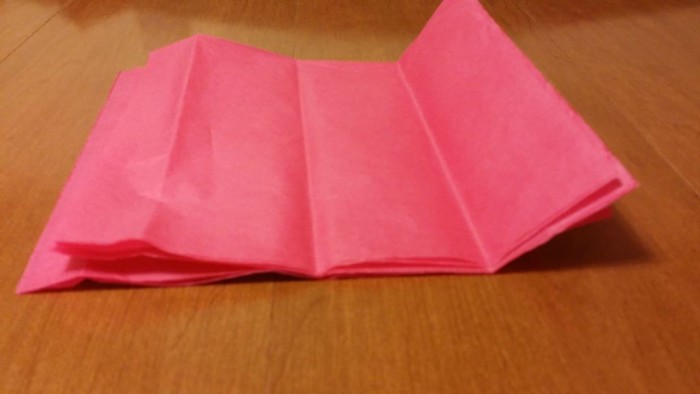
- Completely unfold tissue paper from the package. Lay 2 sheets of tissue paper flat on the table or flat surface.
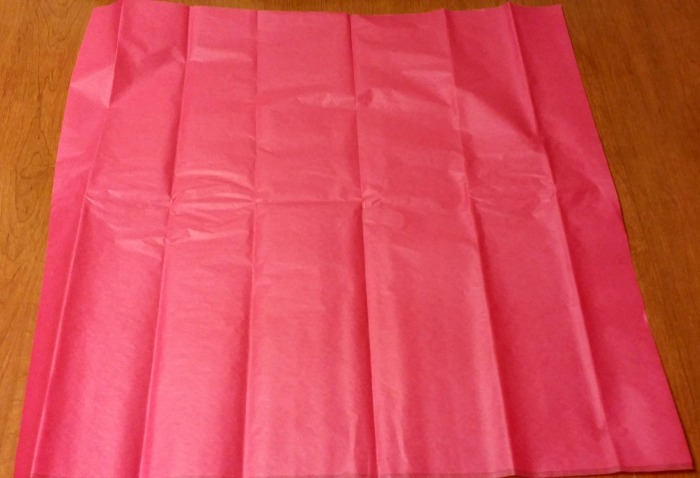
- Fold tissue paper in half.
- Fold the tissue paper in half again from side to side.
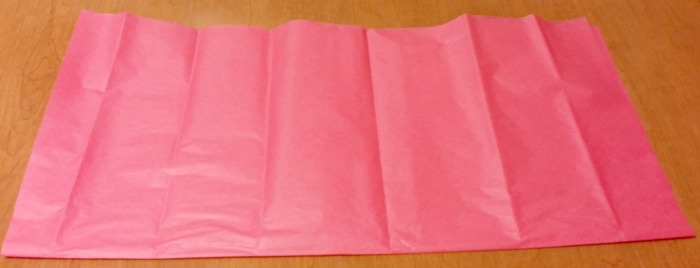
- Cut along the fold lines you created in steps 2 and 3.
- Stack the cut paper as neatly as possible, lining up corners the best you can. It is more important to line up the sides than the corners. There should now be 16 small squares.
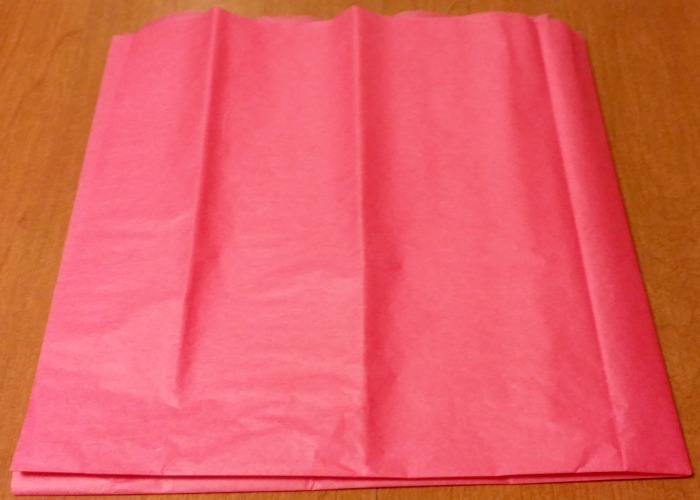
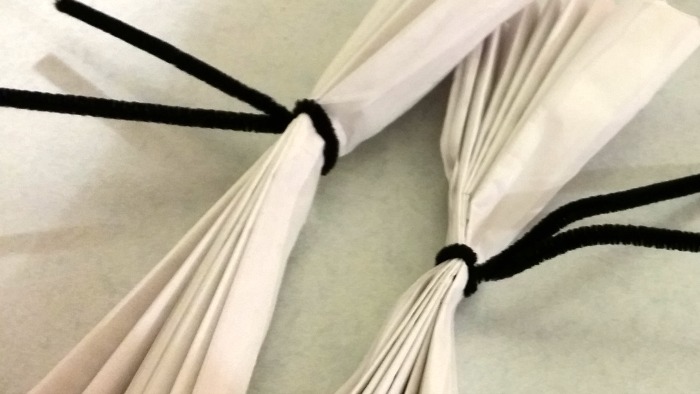
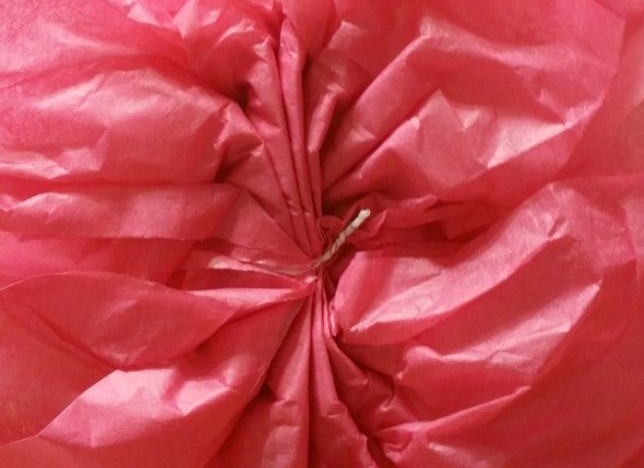
- Fan fold the stacked paper. Use a twist tie or pipe cleaner to cinch the centers shut. It’s fine to cinch it tighter than it already is.
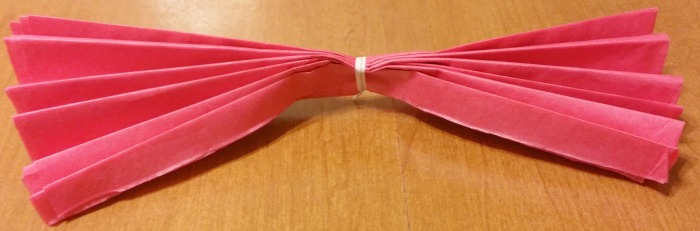
- With all of the practice I’ve had making tissue paper flowers lately, I prefer to cinch the centers with pipe cleaners. They hold much better and longer than the garbage bag ties. It also gives you a “handle” to make a bouquet, to hang the flowers, or a multitude of other ways which may help you in the long run.
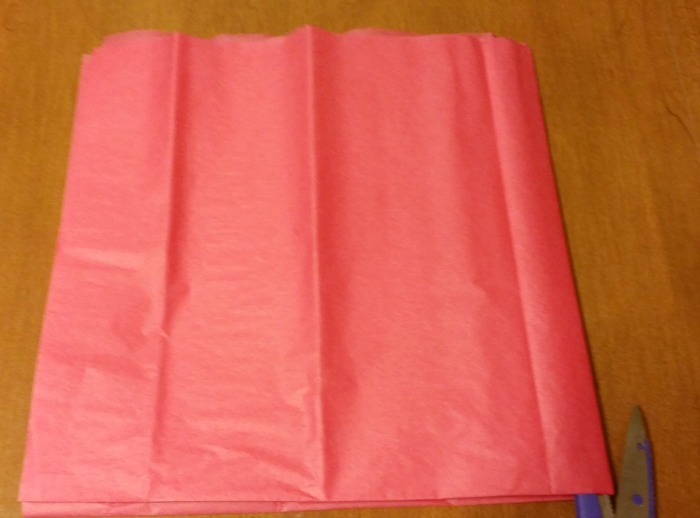
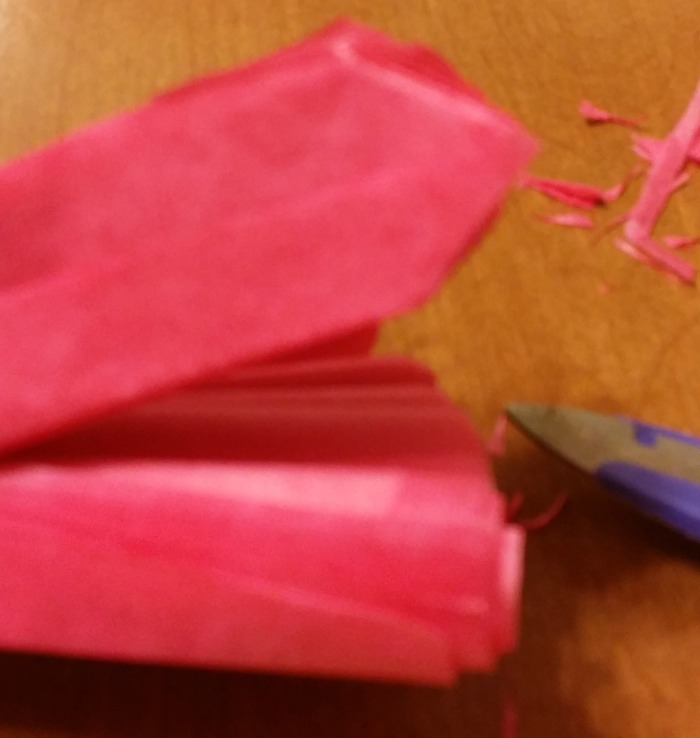
- Cut the square ends of the fan folded paper stacks into points.
- Open the fans up and lay it out flat like a butterfly.
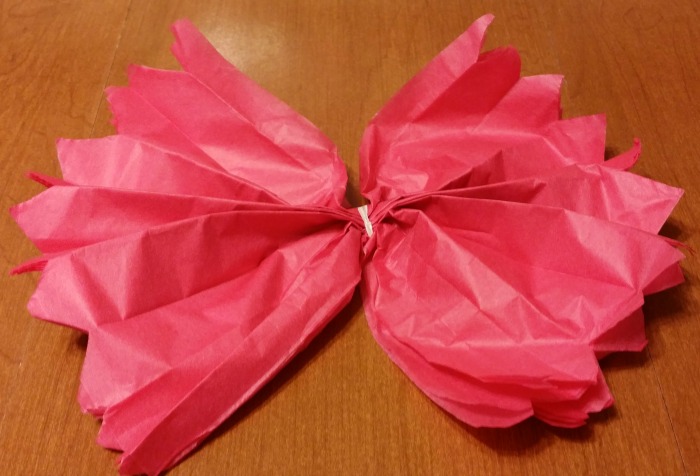
- Lift one piece of tissue paper from the left and one from the right. Try to “fluff” each piece and pull each layer of tissue up and into the center, starting from the outer edge and working your way to the center. Be careful to not rip the tissue, especially as you get nearer to the tight center. If it rips, it’s not a big deal, just tuck it down and move on. Whichever side is lifted last should somewhat “wrap” around the side that was lifted and fluffed first.
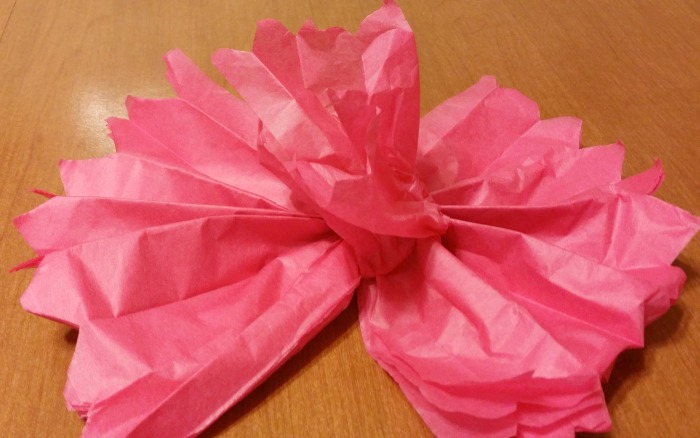
- Continue lifting and fluffing each layer of tissue paper from left to right (or right to left). Make sure to continue pulling the bottom layer around the top layer each and every time you pull the layers up. This will give the flower a smooth, true flower appearance. This one only has a few more layers to pull from each side.
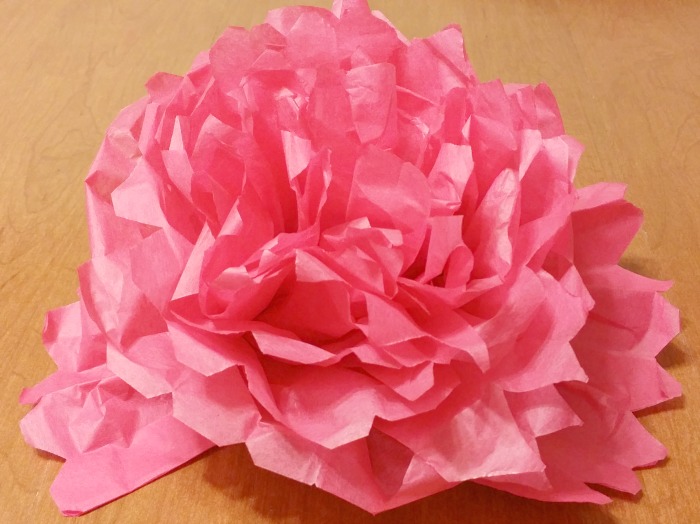
- If the directions are followed, the tissue paper flower should look pretty seamless, just like a flower in nature.
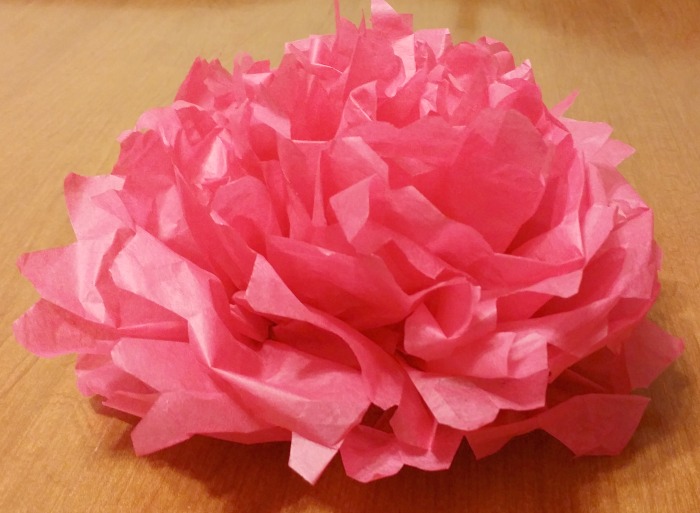
- This is what a tissue paper flower looks like from the bottom side.
Of course, these tissue paper flowers can be used for a ton of decorative ideas, not just decorating floats for parades. We stapled them to crepe paper streamers to decorate for my daughter’s birthday party, added them to the party backdrop, and even added a little pizazz to the flat bed sheet we used for the tablecloth. 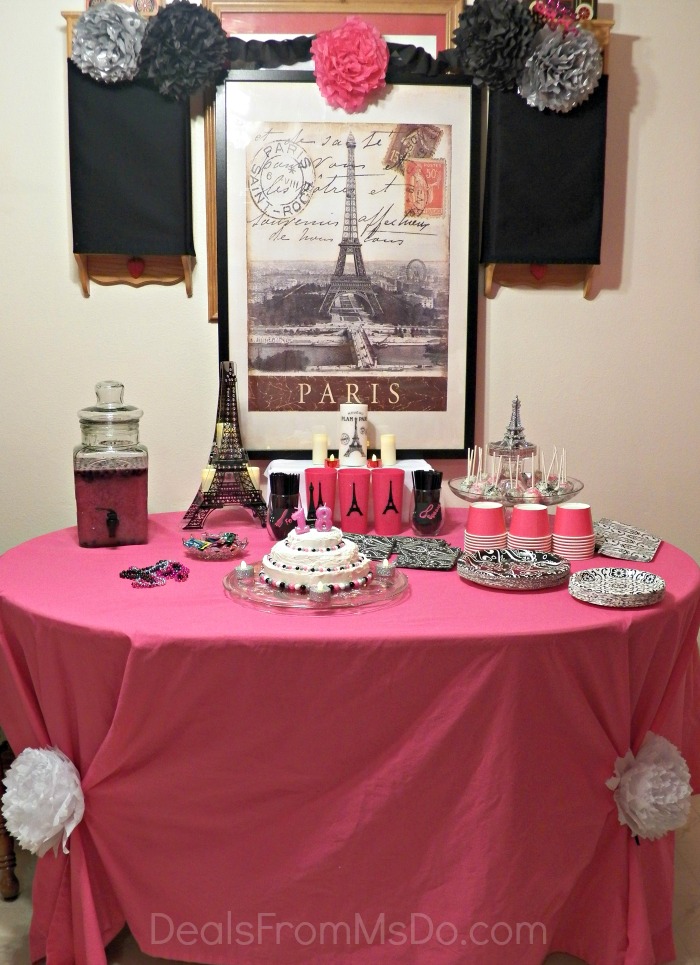


Speak Your Mind