

Do you ooh and aah at the pretty cookies you see at the bakery during the holidays? Do you long to bake and decorate sugar cookies like a pro? I never knew that I had it in me, but I have been praised by friends, neighbors, and other bloggers about the quality of these cookies.
I never realized that I would like to decorate sugar cookies, heck I’ve rarely made them! I’ve just never been one to bake cookies at all. However, since retirement and thanks to becoming a Good Cook Kitchen Expert, I have much more time, tools, and interest to dedicate to this craft.
To help get everyone into the Christmas spirit, Good Cook sent me a fabulous Cookie Baking Kit. To be honest, I dreaded the thought of rolling and cutting cookies. The idea just wasn’t floating my boat. But, the decorating bug bit me and I gave in to my temptation to bake and decorate sugar cookies.
I always enjoyed art class when I was a kid. I suppose I’ve just found a new way to use a LOT of those same skills and methods that I learned so many years ago. I used premade icing tubes for some of the decorating and then topped it with the sugar sprinkles. While I was doing it, I thought about how much it was like using glue and glitter. It was JUST like using glue and glitter!
Remember how you would dump the extra glitter off the art project and then put it back in the glitter container? Well, I did the same exact thing with the sugar crystals. Using the paper plates let me catch the excess sugar and then I just dumped it back into the original container. It was pretty easy to keep the sugar crystals from getting mixed together. I also made sure to wipe off the plate in the sink before starting new colors.
Please don’t let this LONG post scare or overwhelm you. I know that I’m wordy, but I’m also visual. After all, a picture is worth a thousand words. So, just be thankful that I’m using lots of pictures to help me use fewer words. 😉
Make sure that you read all the way to the bottom to find out how you can win an awesome Cookie Baking Kit like mine. There are ten available and you might just be one of the lucky ones to win! Then you too can bake and decorate sugar cookies like a pro!
Rating
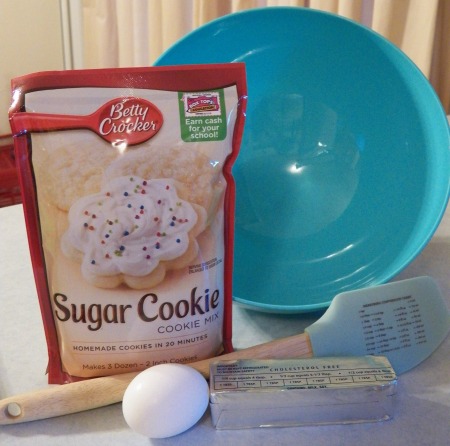
- Sugar Cookie Mix
- Needed Ingredients
- Flour for Rolling Surface & Rolling Pin
- 1 lb Powdered Sugar
- 3 Tb water
- 1 tsp vanilla
- 2 Tb Meringue Powder
- Make cookies according to directions on package.
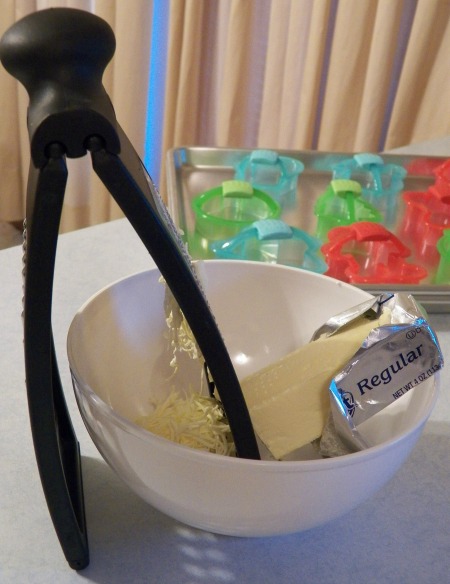
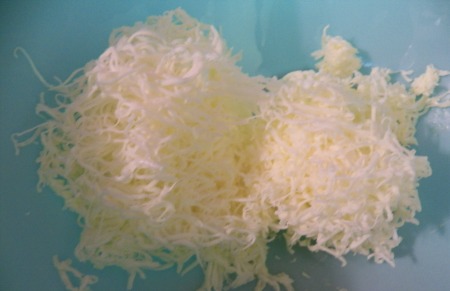
- Forgot to set out your butter or margarine in time for it to soften? Soften it by grating it. It works wonderfully! This was the easiest I've EVER worked butter into flour.
- Use a strong spatula, like the High-Temp Spatula to mix everything together.
- The Sweet Mixing Bowls have no-slip grip material on the bottom, so you don't have to chase the bowl around the counter while you're mixing. Of course, you could always use a pastry blender to combine ingredients. I used the pastry blender on a batch of gluten free sugar cookies. It was much easier to blend the heavier GF ingredients together using the pastry blender than the spatula.

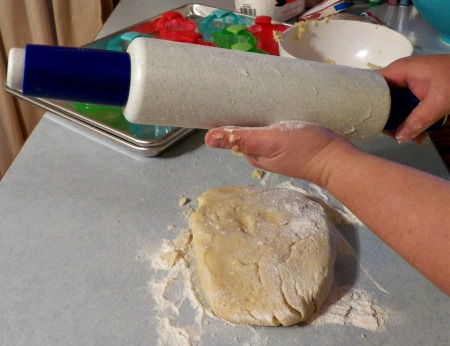
- After combing the ingredients and rolling into a ball, place the ball of dough on a floured surface. I prefer to roll my doughs directly on my kitchen counter. I have a mat that I can roll on, but it rolls up on the sides so it's just easier to avoid the fight. Of course you could always use things like a silicone mat, wax paper, butcher wrap, etc. and have less mess when you're done. It's important to cover the entire area and your rolling pin with flour. This keeps the dough from sticking to any of the surfaces. Reflour the rolling pin, if needed, while rolling. How do you know if you need to reflour? The dough will stick to the rolling pin.
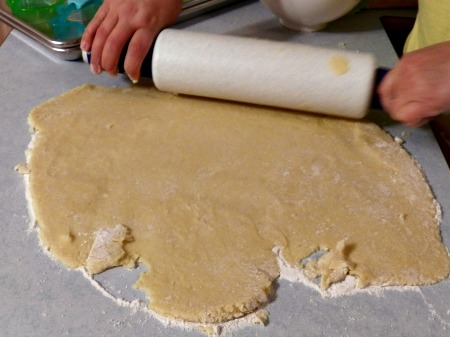
- Roll the dough up and down and side to side. Think about it as north, south, east, and west. The goal is to stretch the dough as evenly as possible.
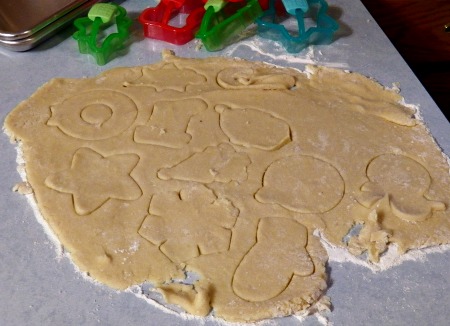
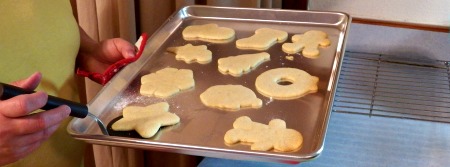
- Cut desired shapes into dough. I cut them as closely together as I could to use all of the dough. I've often read about having to chill the dough before rolling and cutting the cookies out. I never understood why until after I did this step. Dough that is too warm will not lift from the surface. I did try to use Flex Cookie Turner to put them on the Cookie Sheet. After struggling with four cookies, I gave up, scraped up the dough, refrigerated it, and tried again later.
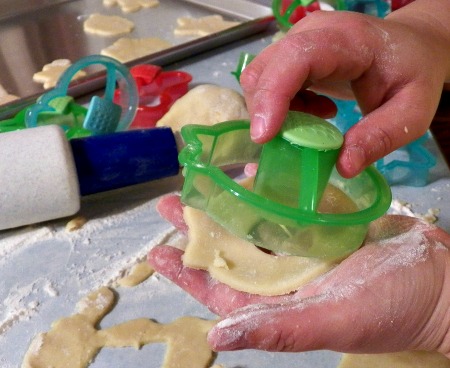
- After chilling the dough for about half an hour or so, I refloured the counter and started over. It worked wonderfully the second time. The cookie dough lifted up as it was cut and then dropped into my hand. I was able to then place it onto the cookie sheet.
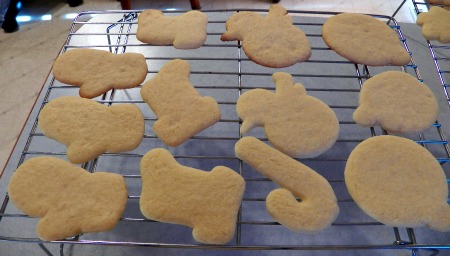
- Bake until cookies are slightly golden brown around the edges. Mine came out perfectly at 12 minutes without any browning, just like those sold in the fancy packages at the stores! Ovens will vary, so it's truly an example of practice makes perfect.
- The Flex Cookie Turner has a slightly angled edge that gets a little taller at the handle side. It works perfectly to remove cookies from the cookie sheets and to place them onto cookie racks for cooling.
- After cookies have completely cooled, they are ready to decorate. Mine were baked one day and decorated the next. Make sure to store in an airtight container to keep them fresh.
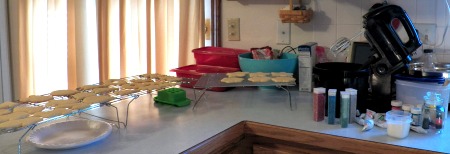
- Create a Sugar Cookie Decorating Station before beginning. Gather ALL of the ingredients you plan to use or may use and place in one convenient location. I used food color, writing icing, homemade colored sugar, colored sugar crystals, and edible Sweet Works Celebrations candies. We love these fabulous little candies from Sweet Works because they don't have Red Dye #40 and they're gluten-free. It's a win for both my daughter and I! ALL of these decorative items were already in my pantry, except for the rectangular containers of the holiday colored sugar sprinkles. I ALWAYS buy them after a holiday, when they're on clearance, so that I can stock up to have a great selection for fun times like this. Since almost everything is sugar, it can last for a VERY long time in dry, cool storage.
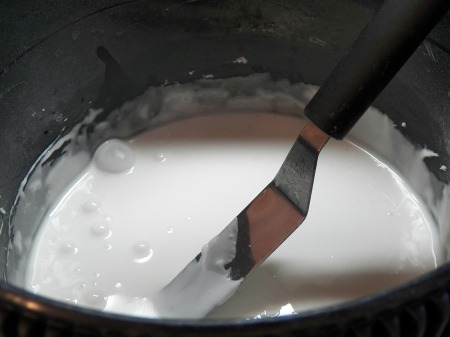
- Make a batch of royal icing. It will be thick, fluffy, and shiny when you're done making it. Just dump the ingredients into your mixer and whip on high speed. This recipe was enough to ice three dozen cookies.
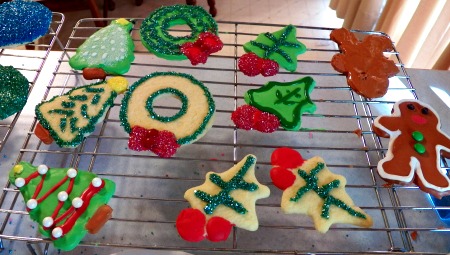
- When ready to decorate, sort cookies into groups according to colors you plan to use for each type of cookie. I knew that I wanted to use white as the base color for all of the cookies on this rack. The next rack was also going to use white as the base color.
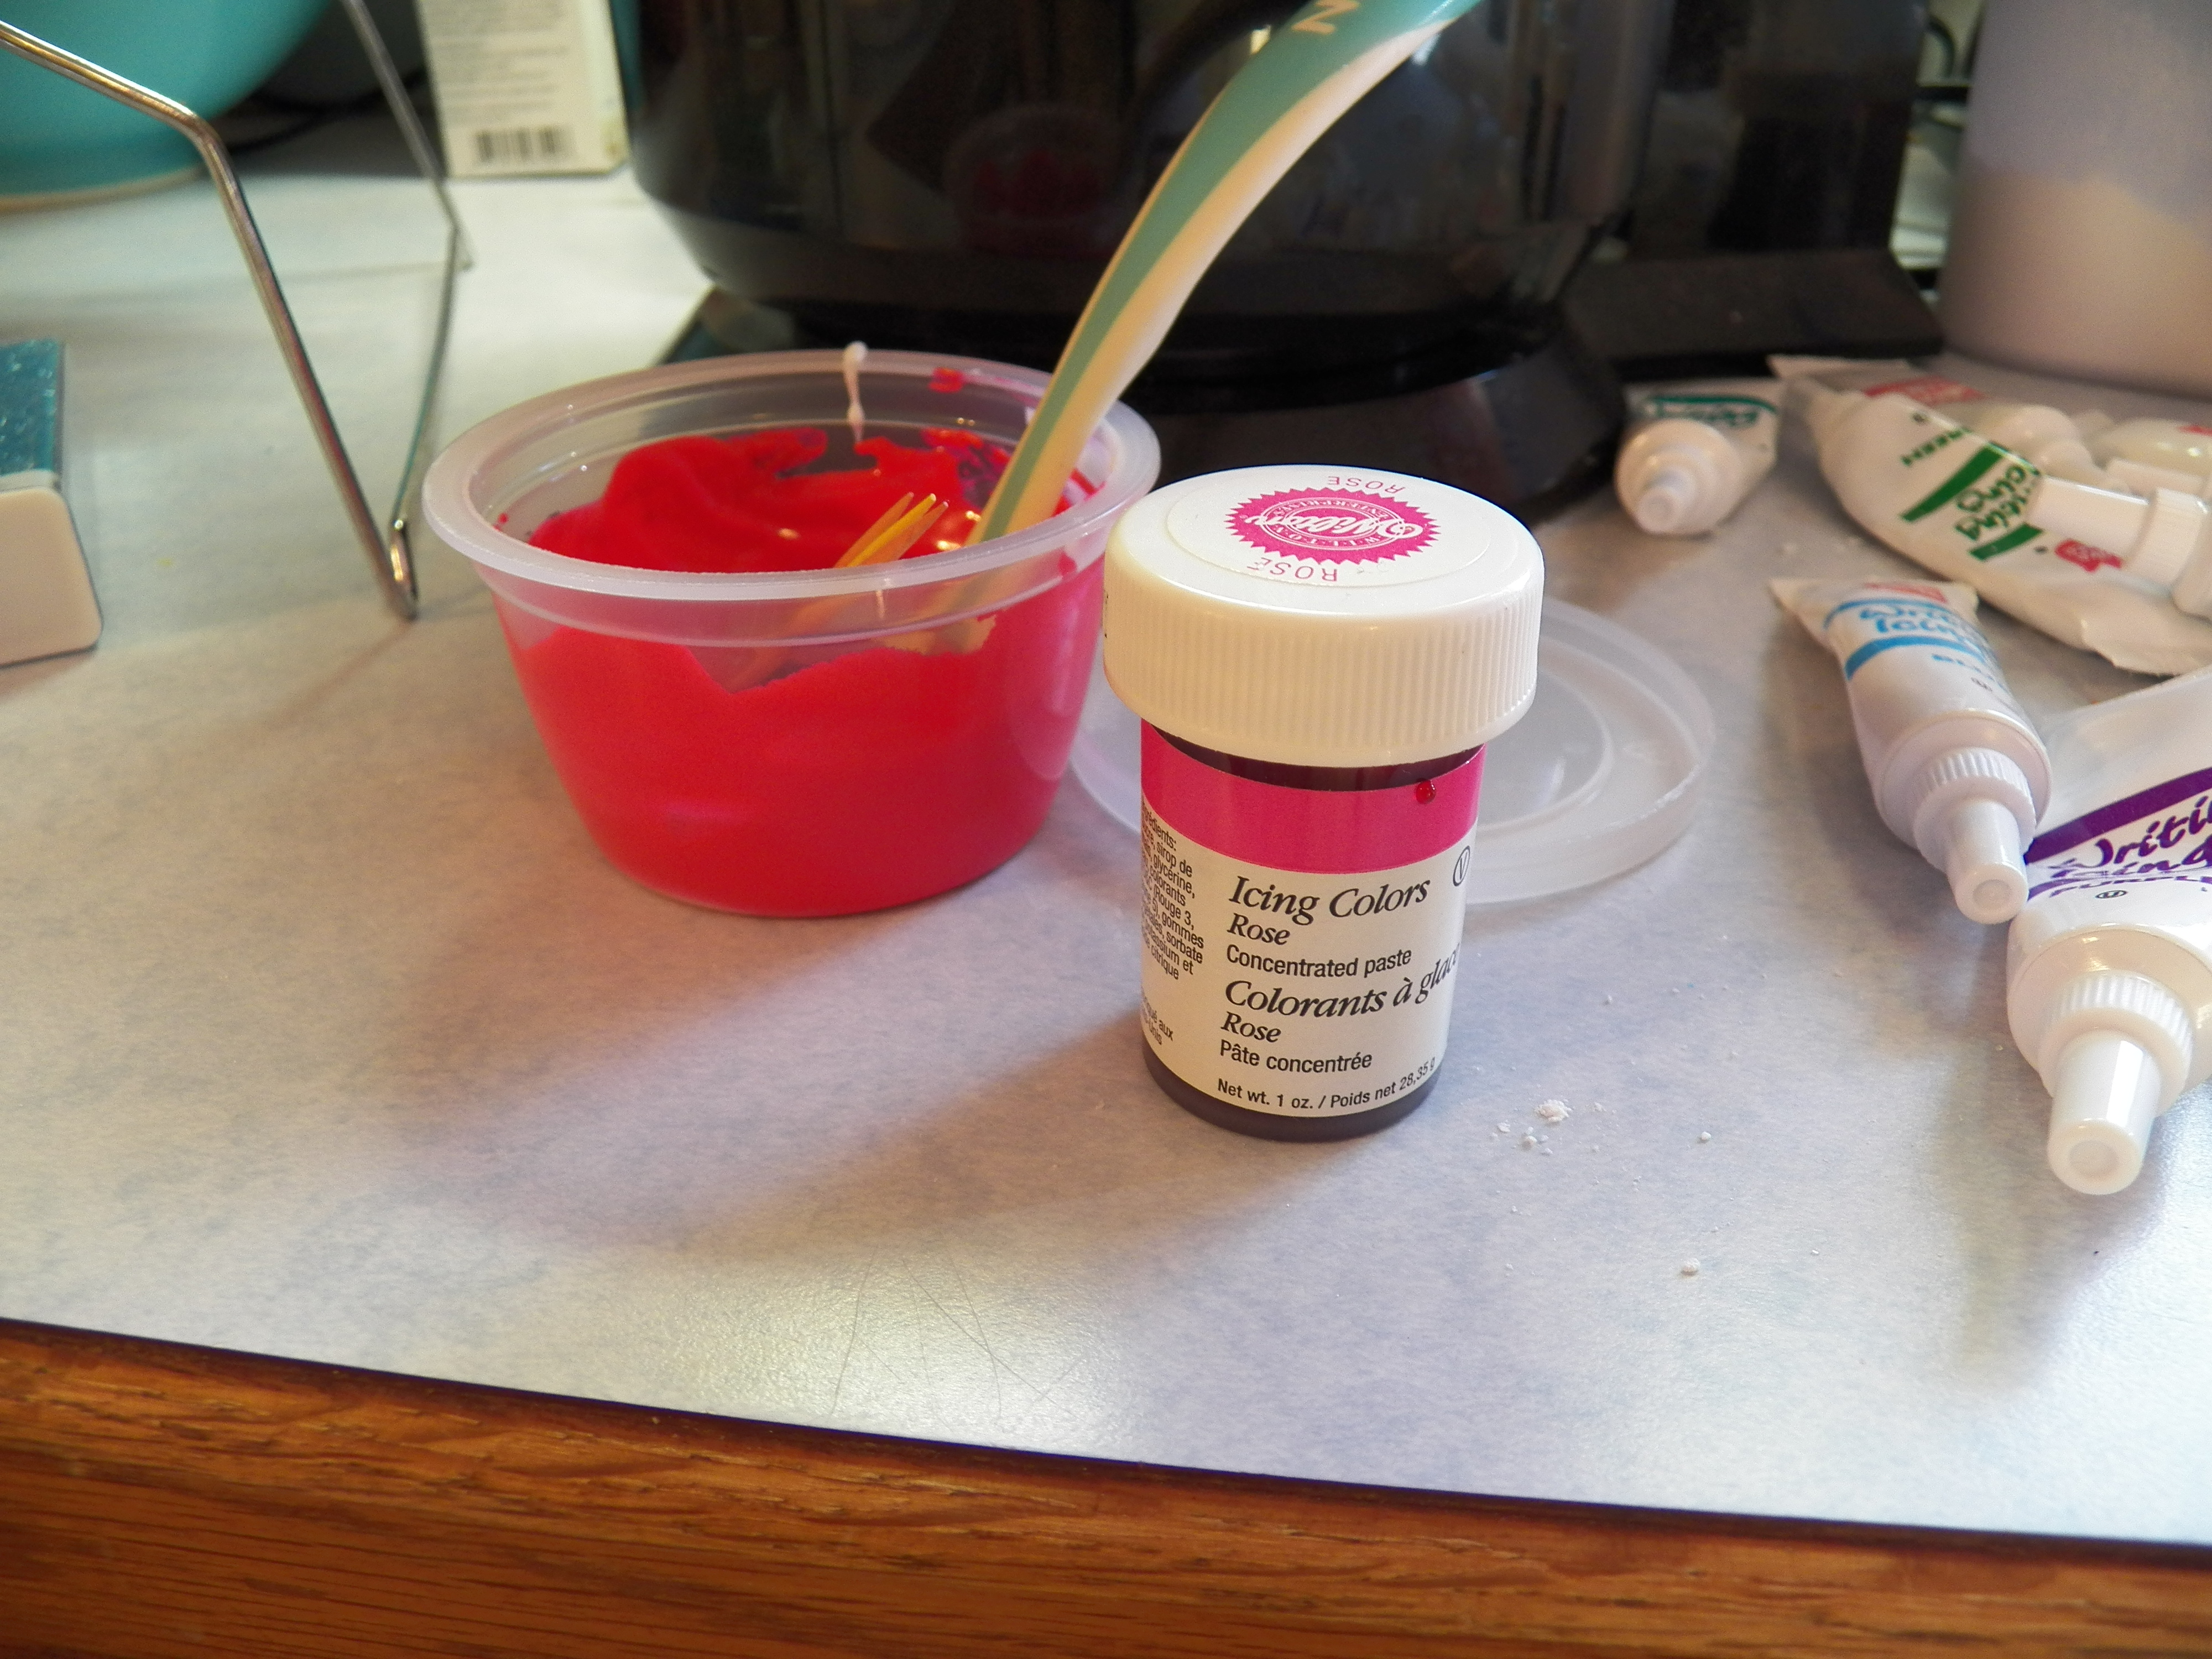
- A third rack was planned as red and green for the base coat. So, I held the red and green off until last. I only needed a small amount of red, so I scooped out a few teaspoons of the royal icing and added rose frosting gel coloring until I reached the desired color. I used rose because all red dyes contain red dye #40, a dye that my daughter is allergic to. I added green dye to the white royal icing that was left in the mixer bowl and mixed again until I was happy with the color. It had been sitting in the open air for several hours, so I added a few drops of water to thin it back down.
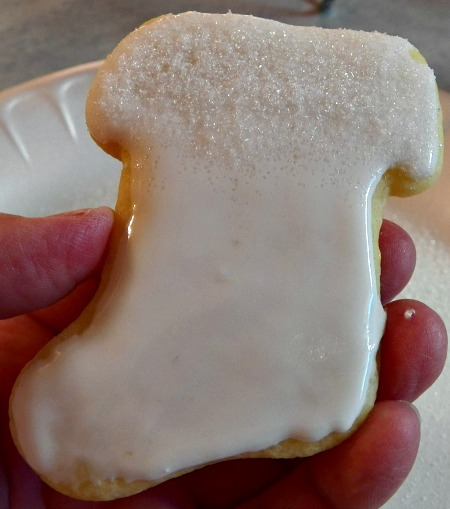
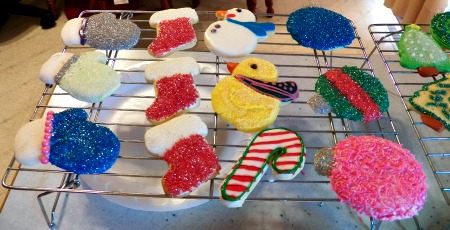
- Cover the entire surface of the cookie with royal icing and decorate as desired. For this stocking, I used plain sugar to represent the white trim at the top.
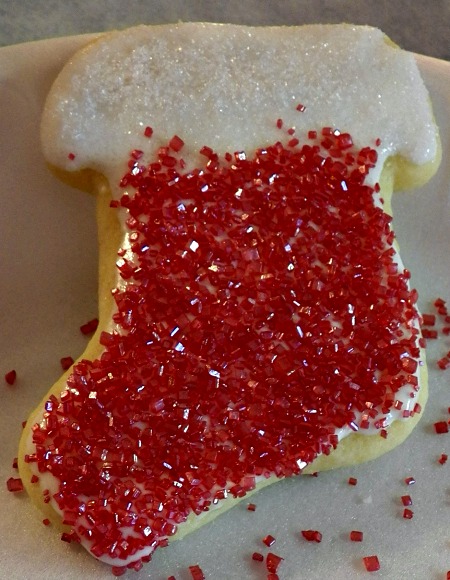
- After trimming one part of the cookie, as desired, cover the other part(s) with royal icing and decorate the rest of the cookie as desired. Look at how this stocking pops!
- Did your icing get messy? Mine got a little thick on this cookie, so I covered it up with writing icing and then sprinkled the glittery, sugar sprinkles on top.
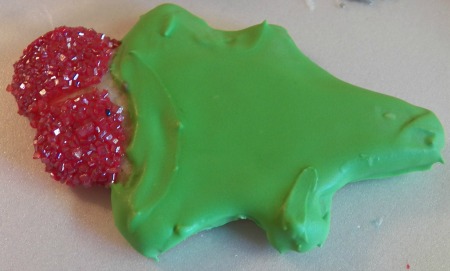
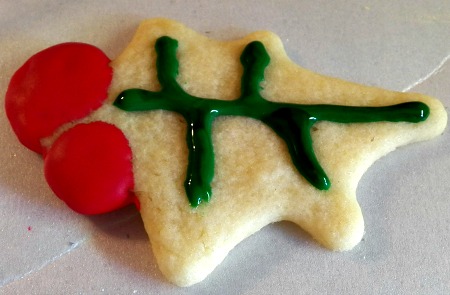
- Combine different styles when decorating. Don't cover all of the cookies with royal icing. The berries on this cookie had royal icing, but the leaves only had this outlining that was topped with the glittery sugar. The cookies like this REALLY stand out in the picture to me.
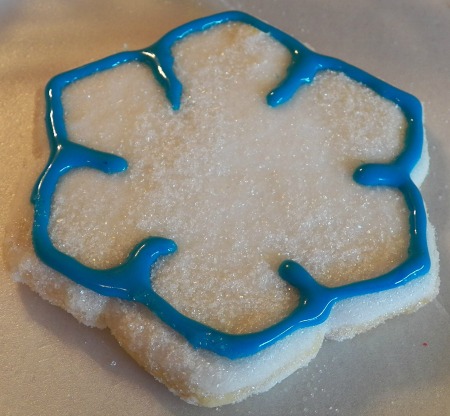
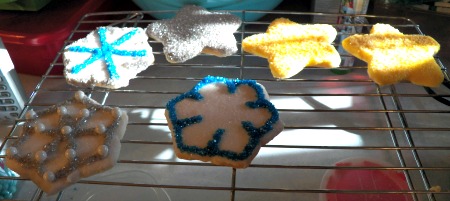
- Layer the same style on top of itself. This snowflake was covered with white sugar. I outlined it with the writing icing next, then covered the icing with the blue, glittery, sugar sprinkles. Look for it in the picture.
- Want a color of sugar crystals that you didn't buy? Use your food color (the packages usually have a color combination chart) to create your own colored sugar crystals after you have finished using the white sugar on all of the desired cookies. Just add a few drops of food color to the container of white sugar and shake. Viola, colored sugar crystals!

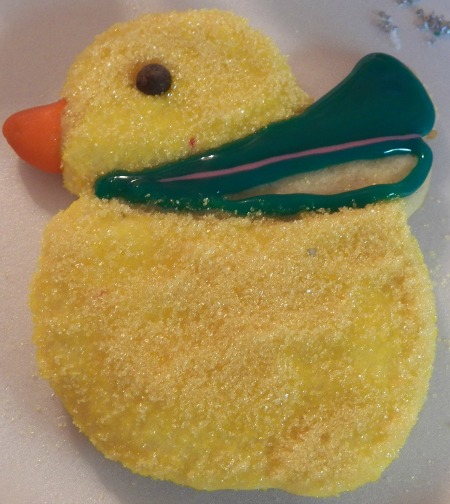
- Use your imagination! These were obviously made from the same cutter, but it's classified as a snowman. I personally think it makes a much better baby chick!
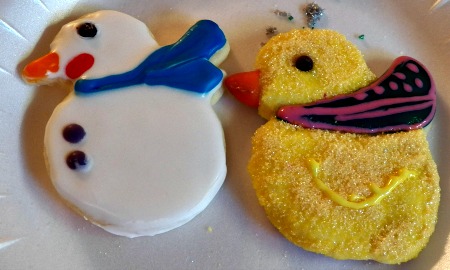
- When using writing icing to draw, outline the desired area, then fill in. The pink line was used to show the direction change of the scarf.
- Finish decorating all cookies, then sit back and enjoy! Accept the high praises, you've worked hard and deserve all the glory you receive!

Check out the fabulous new products I used in my play time in the kitchen to help promote the Good Cook Kitchen Experts Cookie Exchange. I loved all of the products that were included in the kit and now you have the chance to win one, too! There is a Giveaway for TWENTY FIVE Good Cook Cookie Kits on the Good Cook website.
- 12″ x 17″ Cookie Sheets – pure aluminum with a Lifetime Guarantee
- Sweet Mixing bowls – no slip grip bottoms
- High-temp spatula – serves double duty with a kitchen conversion chart on one site of the spatula.
- Flex cookie turner – the perfect size to lift those cookies
- Cookie dropper – make precisely sized cookies every time
- Cookie Cutters – 12 cute holiday and winter themed cutters
Like what you read about the Sweet Creations Cookie Kits? Goodcook is offering a 5% off coupon to goodcook.com for any of the Sweet Creations Products. Use CODE: COOKIES
 Show the love by following DealsFromMsDo and GoodCook on Twitter.


You made it look so easy! I’m not the baker in the family, but you make it look like it’s worth trying again. My husband and kids always make the Christmas cookies every year and he would love to have a baking kit like the one Good Cook is giving away.
Make sure he goes to register. I absolutely love these goodies. Glad you think I made it look so easy. I had great tools, it makes a BIG DIFFERENCE!!! 😀
Good Luck on the giveaway.